

Are you still battling foundation that settles into every line and looks like a mask? You know, that dry, cakey mess that just screams, "I tried too hard!" You’re probably blaming your foundation, maybe even your skin. News flash: It’s often the brush. Or rather, the wrong brush, used the wrong way. Let’s cut to the chase and fix this.
Why Your Foundation Looks Cakey (It’s Not Always the Foundation)
You’ve heard it a million times: “It’s all about the foundation!” Sure, a good foundation helps, but it’s not the only player. Your skin texture, how you prep it, and even the application method are far more critical, especially as skin matures. Skipping these steps, or doing them incorrectly, makes even the most expensive foundation look terrible.
Mature skin has different needs. It tends to be drier, can have more prominent fine lines, and sometimes, a loss of elasticity. Layering a full-coverage foundation on unprepared skin with the wrong tool is a recipe for disaster. It highlights every imperfection, exaggerates texture, and leaves you looking older, not younger. We’re not aiming for a painted-on facade here; we want skin that looks like skin, just better.
Often, people apply too much product too quickly, then try to blend it out with a brush that simply isn’t up to the task. This leads to streaks, patchiness, and that tell-tale "mask" effect. The brush isn’t just for spreading; it’s for manipulating the product into the skin, making it fuse rather than sit on top. If your brush can’t do that, it’s time to ditch it.
The Real Culprit: Skin Texture and Hydration
Before any foundation hits your face, your skin needs to be a smooth, hydrated canvas. If your skin is dry, flaky, or uneven, your foundation will grab onto those dry patches and emphasize texture. No brush in the world can fix truly dehydrated skin. You need a robust skincare routine focused on hydration and gentle exfoliation.
Use a hydrating serum with hyaluronic acid, followed by a rich moisturizer. Give these products time to sink in. Think of it like priming a wall before painting; you wouldn’t paint over cracked, dry plaster, would you? The same goes for your face. Ensure your skin feels plump and supple before even thinking about foundation. This step alone can prevent half the cakey issues.
Product Mismatch: Not All Foundations Play Nice
Yes, I said it’s not always the foundation, but a foundation *type* can definitely contribute to problems. Heavy, matte, full-coverage formulas can look incredibly heavy on mature skin if not applied correctly, or if your skin is naturally drier. Sometimes, a sheerer, more luminous formula is simply a better starting point.
Brands like NARS Sheer Glow or Estee Lauder Futurist Hydra Rescue are formulated to work with skin, not against it. If you’re using a thick, oil-free formula for oily skin on your dry, mature skin, you’re fighting an uphill battle. Understand your skin type and choose foundations designed for it. Then, and only then, does the brush become truly effective.
Primer: Necessity or Nuisance for Mature Skin?
Primers are tricky. Some swear by them; others find they add another layer that cakes up. For mature skin, a *hydrating* or *blurring* primer can be a . Silicone-heavy, “pore-filling” primers can sometimes pill or create a weird texture, especially under certain foundations.
Opt for primers that hydrate, smooth, or add a subtle glow. Think products like the Tatcha The Liquid Silk Canvas or a basic hydrating primer from e.l.f. Cosmetics. They create a glide for your foundation, making application smoother and preventing it from sinking into lines. Test primers. A bad primer is worse than no primer at all.
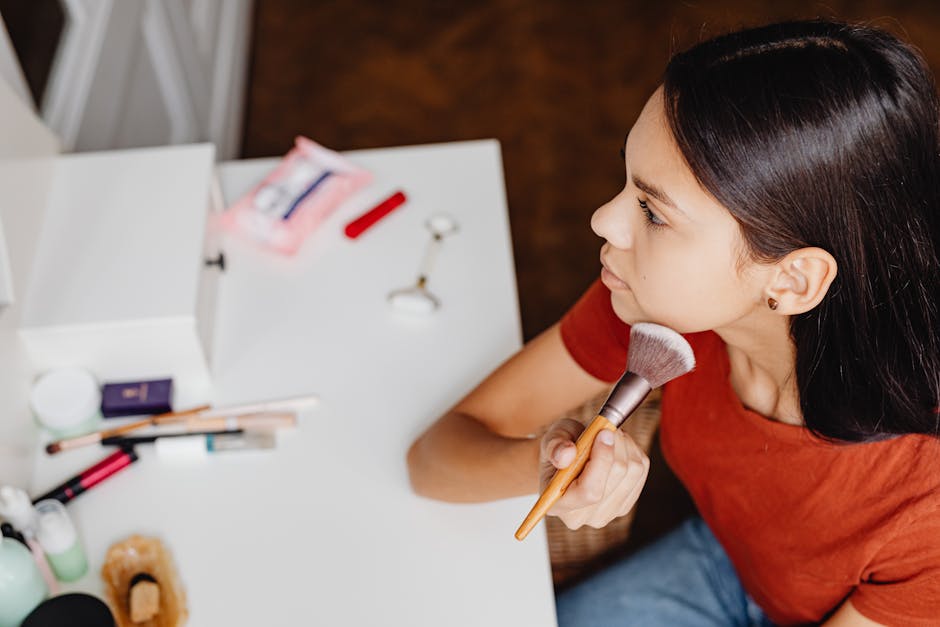
The Only Foundation Brush Shapes You Need

Forget the endless array of oddly shaped brushes. For mature skin, simplicity and density are key. You need brushes that can seamlessly press and buff product into the skin, avoiding streaks and heavy patches. Your goal is a smooth, even layer that looks airbrushed, not painted.
Don’t fall for gimmicks. Those super-thin, paddle-shaped brushes? Useless for mature skin. They just drag foundation around, leaving streaks and emphasizing lines. We want tools that blend, not just apply. These are the shapes that consistently deliver.
The Dense Flat-Top Kabuki: Your Workhorse
This is your go-to. A dense, flat-top kabuki brush packs a punch when it comes to blending foundation seamlessly. The flat surface allows you to stipple and buff foundation into the skin with control, providing excellent coverage without looking heavy. The density ensures even distribution and prevents streaks.
Brands like Sigma F80 Flat Kabuki or the IT Cosmetics Heavenly Luxe Flat Top Buffing Foundation Brush are staples for a reason. They pick up product efficiently and work it into the skin, making your foundation look like it’s part of your complexion, not just sitting on top. This brush is essential for achieving that polished, even finish.
The Angled Buffer: For Seamless Blending
An angled buffer brush is fantastic for getting into the contours of your face – around the nose, under the eyes, and along the jawline. The angle allows for precision and control, ensuring smooth transitions and no harsh lines. It’s particularly useful for blending out foundation where it meets your neck or hairline.
The Real Techniques Expert Face Brush, while not strictly angled, has a dense, slightly rounded dome that works similarly well for buffing. Look for brushes with soft, but firm, synthetic bristles that maintain their shape. This type of brush excels at feathering out edges and achieving a naturally diffused look.
The Tapered or Dome Shape: For Lighter Application
Sometimes you don’t need full coverage everywhere. A tapered or dome-shaped brush (think a smaller, fluffier kabuki) is perfect for lighter coverage or targeted application. It’s great for applying tinted moisturizer, BB cream, or just a sheer wash of foundation where you need it most.
These brushes offer a softer touch, making them ideal for areas where you want less product or a more diffused finish. They can also be used for blending out cream contour or blush, making them quite versatile. Look for one that’s soft but still has enough density to move product effectively without absorbing too much.
Synthetic vs. Natural Bristles: Pick One and Move On
This isn’t complicated. For foundation, especially liquid or cream formulas, there’s only one real choice. Natural hair brushes are great for powder, but for liquid foundation, they’re an absolute mess. Don’t waste your time or product.
Here’s the breakdown:
| Feature | Synthetic Bristles | Natural Bristles |
|---|---|---|
| Product Absorption | Minimal; applies product efficiently | Highly absorbent; wastes product |
| Cleaning | Easy to clean; dries quickly | Difficult to clean; holds onto product/bacteria |
| Durability | Very durable; maintains shape | Can shed, lose shape, and break down |
| Application | Smooth, even, streak-free for liquids/creams | Can be streaky; better for powders |
| Hygiene | Non-porous; less prone to bacterial growth | Porous; higher risk of bacterial buildup |
| Price Point | Often more affordable, excellent quality available | Can be very expensive, diminishing returns for foundation |
Why Synthetic Wins, Every Time
Synthetic brushes are manufactured with non-porous fibers that don’t absorb liquid product. This means your expensive foundation goes onto your face, not into the bristles. They blend creams and liquids seamlessly, providing an even, streak-free finish that natural bristles just can’t achieve for these formulas.
Modern synthetic bristles, often made from Taklon or other advanced polymers, are incredibly soft, durable, and mimic the feel of natural hair without the drawbacks. They are also hypoallergenic, a bonus for sensitive skin. There’s no debate here: synthetic is superior for liquid foundation. Period.
Cleaning and Maintenance: Don’t Mess This Up
You need to clean your foundation brushes regularly. Every 1-2 uses. Leaving old foundation to build up is disgusting, unsanitary, and makes your brush perform poorly. Synthetic brushes are easy to clean: use a gentle brush cleanser or even mild soap and water.
Rinse thoroughly, reshape, and let them air dry flat or upside down. Do not store them bristle-up while wet; water will seep into the ferrule and break down the glue. Proper cleaning not only extends the life of your brush but also prevents breakouts and ensures smooth, hygienic application every single time.
The Application Techniques That Won’t Age You Faster
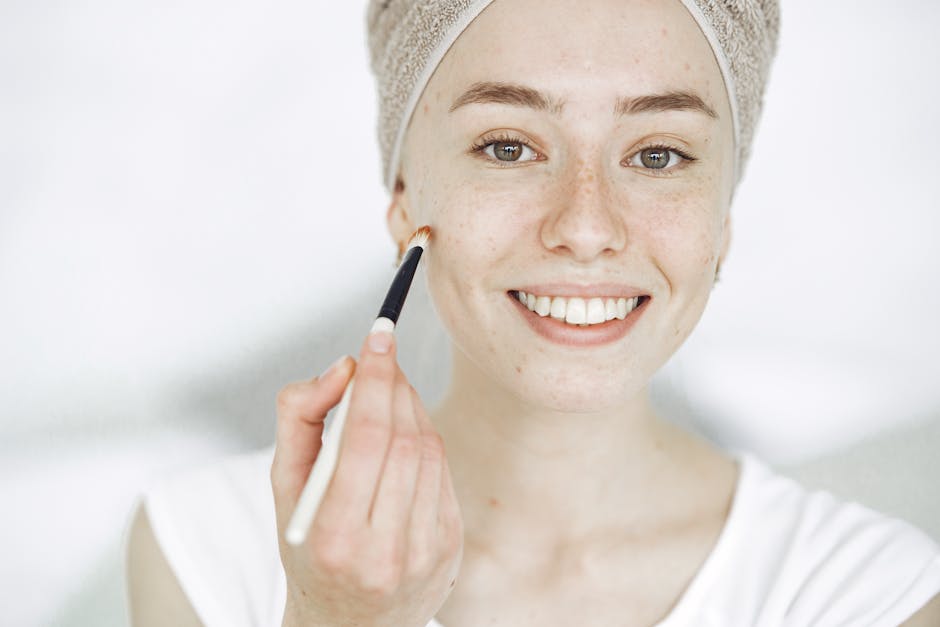
Having the right brush is only half the battle. How you use it is critical, especially when dealing with mature skin. Aggressive dragging or heavy-handed application will only highlight fine lines and texture. You need a gentle, deliberate approach that presses product into the skin, rather than just sweeping it over.
The goal is to create a thin, even veil of foundation that melds with your skin, blurring imperfections without looking detectable. Less is always more. Start with a tiny amount and build coverage only where needed. Resist the urge to slather it on like paint.
1. Stipple and Press, Don’t Swipe
This is the golden rule. Instead of dragging your brush across your face, which creates streaks and lifts product, use a stippling or pressing motion. Dab the foundation onto your skin in small sections, then gently press and buff the brush in small, circular motions. This technique pushes the product into your pores and lines, filling them subtly rather than coating them.
A good flat-top kabuki or angled buffer brush is perfect for this. Focus on areas that need the most coverage first, like the center of your face, around the nose and mouth. Blend outwards, using lighter pressure as you reach the perimeter of your face. This creates a natural gradation that looks seamless.
2. Build Layers, Don’t Glob It On
Resist the urge to apply a large amount of foundation all at once. Start with a pea-sized amount for your entire face. Apply it to the back of your hand or a mixing palette first, then pick up a small amount with your brush. Lightly dot the foundation across your face – forehead, cheeks, chin, nose.
Then, using the stippling and buffing technique, blend it out. If you need more coverage in specific areas, add another *tiny* layer, focusing only on those spots. This layering approach allows for a much more natural finish and prevents that thick, cakey look. Brands like Fenty Beauty Pro Filt’r Soft Matte Longwear Foundation, known for its coverage, still looks best when applied sparingly in layers.
3. Finish with a Pat: The Setting Secret
Once your foundation is blended, take a clean, damp beauty sponge (like the Original Beautyblender) or a clean, soft brush and gently pat your entire face. This final step helps to press the foundation even further into the skin, picking up any excess product and seamlessly blending any micro-streaks the brush might have left. It melts the foundation into your skin, giving it a much more natural, skin-like finish.
You can also use this technique to apply a very sheer layer of setting powder, focusing only on oily areas if needed. The key is a gentle patting motion, not rubbing. This ensures longevity and a flawless look without adding more product.
The One Brush You Can Skip (Seriously)
Paddle-shaped foundation brushes. You know the ones – flat, thin, often nylon. They’re worthless. They simply drag foundation across the skin, leaving streaks and making your foundation look heavy and uneven. They don’t buff, they don’t blend, and they certainly don’t press product into mature skin effectively. Don’t even bother.
Which Brush Brands Actually Deliver?
You need quality tools. Investing in a good foundation brush isn’t a splurge; it’s a necessity. Cheap brushes shed, absorb product, and apply unevenly. You’ll end up using more foundation, and it’ll still look bad. Save yourself the headache and get a decent brush. These brands consistently perform.
What are the best high-end options?
For high-end, IT Cosmetics stands out. Their Heavenly Luxe line, particularly the Flat Top Buffing Foundation Brush, is phenomenal. The bristles are incredibly soft, dense, and durable, making application feel luxurious and effortless. Artis brushes, with their unique oval shapes, also offer a very smooth, airbrushed finish, but they come with a steeper price tag and a different application learning curve.
Another strong contender is the Hourglass Vanish Seamless Finish Foundation Brush. It’s dense, angled, and designed specifically to blend stick foundations beautifully, but works well with liquids too. These brushes are an investment, but they last for years if cared for properly and truly elevate your foundation game.
What’s the best value for money?
Hands down, Real Techniques and Sigma Beauty offer the best bang for your buck. Real Techniques brushes, like the Expert Face Brush or the Buffing Brush (often found in sets), are widely available, affordable, and incredibly effective. Their synthetic bristles are soft, dense, and hold up well to frequent washing. They are perfect for beginners and pros alike.
Sigma Beauty’s F80 Flat Kabuki is a classic for a reason. It’s a bit more expensive than Real Techniques but still very accessible, and it’s a workhorse that provides flawless, full coverage with minimal effort. Both brands consistently deliver professional-level results without breaking the bank. Don’t overlook them just because they’re not a luxury brand.
Are brush sets ever worth it?
Sometimes, yes. But be selective. Many sets include brushes you’ll never use. Look for sets that specifically feature a good foundation brush, a concealer brush, and perhaps a powder or blush brush. Real Techniques often has excellent starter sets that are very reasonably priced and include high-quality brushes you’ll actually use.
Avoid massive sets with dozens of brushes you don’t recognize. You’re paying for quantity over quality there. A few high-quality, versatile brushes are far better than a drawer full of mediocre ones. Focus on getting your foundation brush right first; then you can expand your collection intelligently.
Here’s a quick recap of what matters:
- Brush Type: Dense, synthetic, flat-top kabuki or angled buffer.
- Bristles: Always synthetic for liquid/cream foundation.
- Technique: Stipple and press, don’t swipe. Build thin layers.
- Brands: IT Cosmetics for luxury, Sigma/Real Techniques for value.