

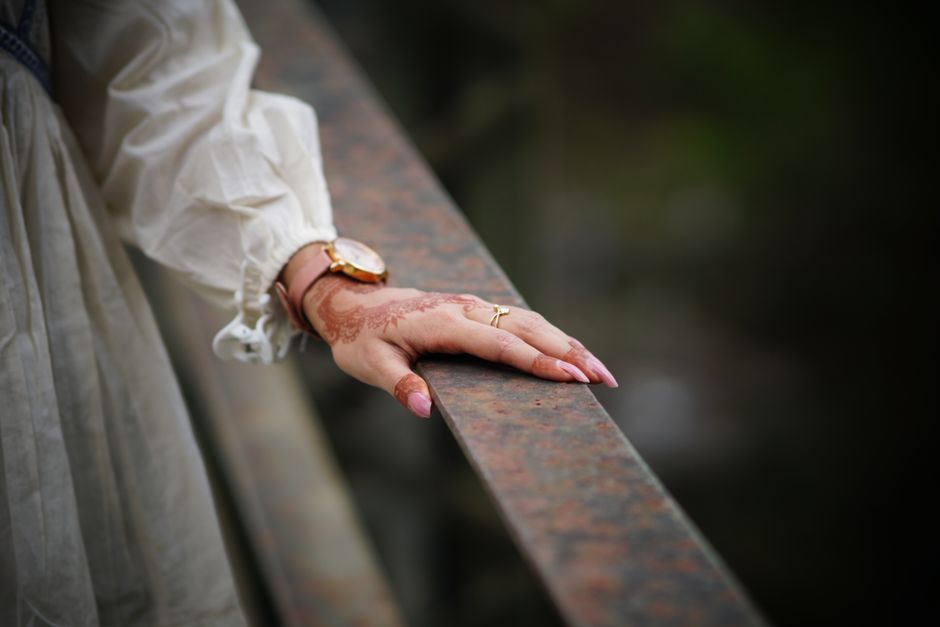
You’ve saved 40 Bunbury nail art photos on Instagram. You’ve booked appointments at three different salons on Wittenoom Street. But every set chips within four days, and you’re spending $70 a pop.
Here’s the truth: most of those salon designs use techniques you can replicate at home with $30 worth of tools. The difference isn’t skill — it’s knowing which products actually work for the specific design you want.
This guide walks through seven Bunbury-friendly nail art styles, from a 10-minute ombré to a detailed marble look. Each section names exact polishes, tools, and step counts. Skip the generic advice. Let’s get specific.
Why Most DIY Nail Art Fails (and How to Fix It Before You Start)
Three things ruin a home manicure before you even open the polish: wrong base coat, impatient drying, and tools that fight you.
Base coat matters more than color. A rubberized base coat like the Orly Bonder Rubberized Base Coat ($12) grips polish onto the nail plate. Without it, even expensive gel peels in sheets. For natural nails, skip the cheap drugstore base — it’s mostly solvent that evaporates and leaves polish floating.
Drying time isn’t optional. Regular polish needs 20 minutes between coats to set. Gel needs 30 seconds under a UV lamp per thin layer. The biggest mistake? Applying thick coats. Thin layers cure faster and chip less.
Tools make or break the design. Don’t use toothpicks. Buy a set of dotting tools ($6 on Amazon, 5-piece set) and a thin striping brush ($4). These two tools handle 90% of nail art — dots, lines, swirls, and gradients.
One more thing: clean your cuticles. Push them back with a glass cuticle pusher ($8) and trim only loose skin. Polish on cuticles lifts within a day. This single step doubles manicure life.
Here’s a quick comparison of the three most common base coat types:
| Base Coat Type | Best For | Example Product | Price |
|---|---|---|---|
| Rubberized | Weak, peeling nails | Orly Bonder | $12 |
| Strengthening | Brittle, thin nails | OPI Nail Envy | $13 |
| Sticky (gel) | Gel polish adhesion | Gelish Foundation Gel | $15 |
Pick your base based on your nail type, not the design you want. A marble pattern won’t stay on flaking nails.
Ombré Nails in 10 Minutes: The Sponge Technique That Actually Works

Ombré looks complicated. It’s not. You need two polishes, a makeup sponge, and 10 minutes.
Start with a white base coat — Essie Blanc ($10) works perfectly. White makes the gradient pop. Let it dry completely.
Paint two stripes of your chosen colors side by side on a latex makeup sponge ($3 for a pack of 10). Don’t blend them on the sponge. Keep the stripes separate. Dab the sponge onto your nail in a rolling motion — press, lift, move slightly, press again. Two to three dabs per nail is enough.
The mistake everyone makes: using too much polish. The sponge should look damp, not soaked. Saturated sponges create blobs, not gradients.
Clean the sponge between nails. Wet a paper towel with acetone and press the sponge into it. Residue from the first nail will muddy the second.
Seal with a quick-dry top coat. Seche Vite Dry Fast Top Coat ($9) smooths the texture and dries in 60 seconds.
For a Bunbury-specific twist: use OPI Bubble Bath (pale pink) and OPI Mod About You (dusty rose). The soft gradient suits the coastal vibe. It’s the most requested ombré at Bunbury salons on Victoria Street.
This design works with regular polish or gel. With gel, cure each layer for 30 seconds under a UV lamp. The sponge technique is identical.
Marble Nails: The Water Method vs. the Brush Method
Marble nails have two paths. One is dramatic and messy. The other is controlled and precise. Both work. Pick based on your patience level.
Water Marble (Dramatic)
You’ll need room-temperature distilled water in a small cup. Drop your polish colors one at a time onto the water surface. Each drop spreads. Use a toothpick to drag the colors into a swirl pattern. Dip your nail through the surface, scrape off excess polish, and reveal the marble pattern.
This method fails for three reasons: tap water has minerals that break the polish film, thick polishes sink instead of spreading, and you must work fast — the film dries in 30 seconds.
Use China Glaze polishes ($8 each) — they’re thin enough to spread but thick enough to hold the pattern. Avoid gel polish for water marble; it won’t spread.
Brush Marble (Controlled)
Paint your base color. Let it dry. Drop small dots of two or three other colors onto the nail. Dip a thin striping brush in acetone and drag through the dots. The acetone thins the polish and creates soft marble veins.
This takes longer but gives you total control. You can marble one nail at a time without rushing.
For Bunbury marble designs, use neutral tones: a white base with grey and taupe veins. It looks like the limestone cliffs at Koombana Bay. Add a single gold stripe with Essie Good as Gold ($10) for contrast.
Seal with a no-smudge top coat. Essie Gel Setter ($11) won’t drag the marble lines.
Floral Nail Art: The Dotting Tool Method (No Steady Hand Required)
You don’t need to paint petals freehand. The dotting tool does the work.
Start with a solid base color — pale mint green or soft lavender works well. Essie Mint Candy Apple ($10) or OPI Do You Lilac It? ($12) are Bunbury salon favorites.
Use the large end of your dotting tool to place five dots in a circle. That’s the flower. Use the small end to place a single dot in the center. That’s the stamen. Done.
Five dots. One center dot. That’s a flower.
Space them randomly across the nail. Add a few leaves by dragging the small dotting tool outward from the flower — press, drag, lift. The drag creates a leaf shape.
Common mistake: dots that are too close together. Leave a gap the size of a dot between each petal. The white space makes the flower readable.
For a more detailed look, use three colors: one for petals, one for the center, and one for leaves. Essie Licorice (black) for petals with Essie Blanc (white) centers creates a monochrome daisy that looks hand-painted.
This design takes 15 minutes per hand once you get the rhythm. Practice on a nail wheel ($5 for 50 nails) before your actual manicure.
Geometric Nails: Tape Is Your Best Friend
Geometric designs look sharp because they use straight edges. You can’t paint a straight line freehand consistently. Use tape.
Buy nail art striping tape ($3 for a roll) or use regular Scotch tape cut into thin strips. Paint your base color and let it dry completely — at least 30 minutes.
Place the tape in the pattern you want. Diagonal lines, triangles, half-moons at the cuticle. Press the tape edges down firmly. Paint over the taped area with your second color. While the polish is still wet, pull the tape off in one smooth motion.
Critical rule: pull the tape immediately. If you wait even 30 seconds, the polish dries across the tape edge and lifts, creating a jagged line.
For a negative-space look, leave sections of your natural nail exposed. Paint a diagonal stripe across the middle of the nail, tape half of it, and paint the other half. The result is two colors with a sharp line between them.
Bunbury geometric trend right now: matte black base (Essie Matte About You top coat over black polish) with a single gold triangle at the cuticle. It’s minimal, modern, and takes 20 minutes.
Use a quick-dry top coat that won’t smudge the edges. Seche Vite works because it dries hard within minutes, locking the tape lines in place.
Glitter Gradient: The Sponge Technique, But Shiny
Same sponge technique as ombré, but with glitter polish. This is the easiest design in this list.
Paint a nude or clear base coat. Essie Mademoiselle ($10) is a sheer pink that lets glitter pop without competing.
Paint a stripe of glitter polish onto a makeup sponge. China Glaze Fairy Dust ($8) is a fine holographic glitter that applies evenly. Dab onto the nail tip, concentrating the glitter at the free edge and fading toward the cuticle.
One dab per nail. Less is more. You can always add more glitter, but you can’t remove it without starting over.
Seal with two coats of top coat. Glitter texture is rough — the first coat smooths it, the second coat locks it.
For Bunbury evenings out: use a copper glitter like Essie Penny Talk ($10) over a nude base. It catches the sunset light at Bunbury’s Back Beach.
This design costs less than $15 for the polish and sponge combined. A salon charges $35 for the same look.
French Manicure with a Twist: Color Block Tips
The classic French manicure is white tips on nude nails. Boring. The Bunbury twist: colored tips with a metallic stripe separating the tip from the base.
Paint your base color — a sheer pink or beige. Let it dry. Place a curved guide sticker or a piece of tape across the nail where you want the tip to start. Paint the tip in a bold color: Essie Butler Please (cobalt blue) or OPI Big Apple Red (classic red).
Peel the guide while the tip color is wet. Wait 10 minutes. Paint a thin metallic stripe exactly where the two colors meet. Use a striping brush and Essie Good as Gold ($10) or Essie No Place Like Chrome ($10).
The metallic stripe hides any unevenness in the tip line. It also makes the design look intentional and polished.
Common failure: the tip color bleeds under the guide. Fix this by pressing the guide down with a cuticle pusher before painting. If you see gaps, the polish will bleed.
This design takes 25 minutes total. It’s the most requested nail art at Bunbury’s salons on Spencer Street because it looks expensive but takes less time than a full set of acrylics.
Quick Comparison: Which Design Fits Your Schedule?
| Design | Time (per hand) | Skill Level | Cost (tools + polish) | Best For |
|---|---|---|---|---|
| Ombré | 10 minutes | Beginner | $22 | Quick weekend look |
| Marble (water) | 30 minutes | Intermediate | $26 | Statement nails |
| Marble (brush) | 45 minutes | Advanced | $30 | Precision work |
| Floral | 15 minutes | Beginner | $18 | Everyday wear |
| Geometric | 20 minutes | Intermediate | $15 | Modern, clean look |
| Glitter gradient | 10 minutes | Beginner | $20 | Night out |
| Color block French | 25 minutes | Intermediate | $25 | Office + weekend |
For a first attempt, start with the glitter gradient or ombré. Both use the sponge technique, cost under $25, and take 10 minutes per hand. Once you’re comfortable, move to floral or geometric. Save marble for when you have 45 minutes and no interruptions.
The total cost for all tools — dotting set, striping brush, sponge, tape, and base/top coat — is under $40. That’s one salon visit. After that, each design costs only the price of a new polish color.
Tags: bunbury nail salon, diy nail designs, nail art bunbury, nail art techniques, nail art tutorial